Essential Maintenance Guide for Airless Paint Sprayers

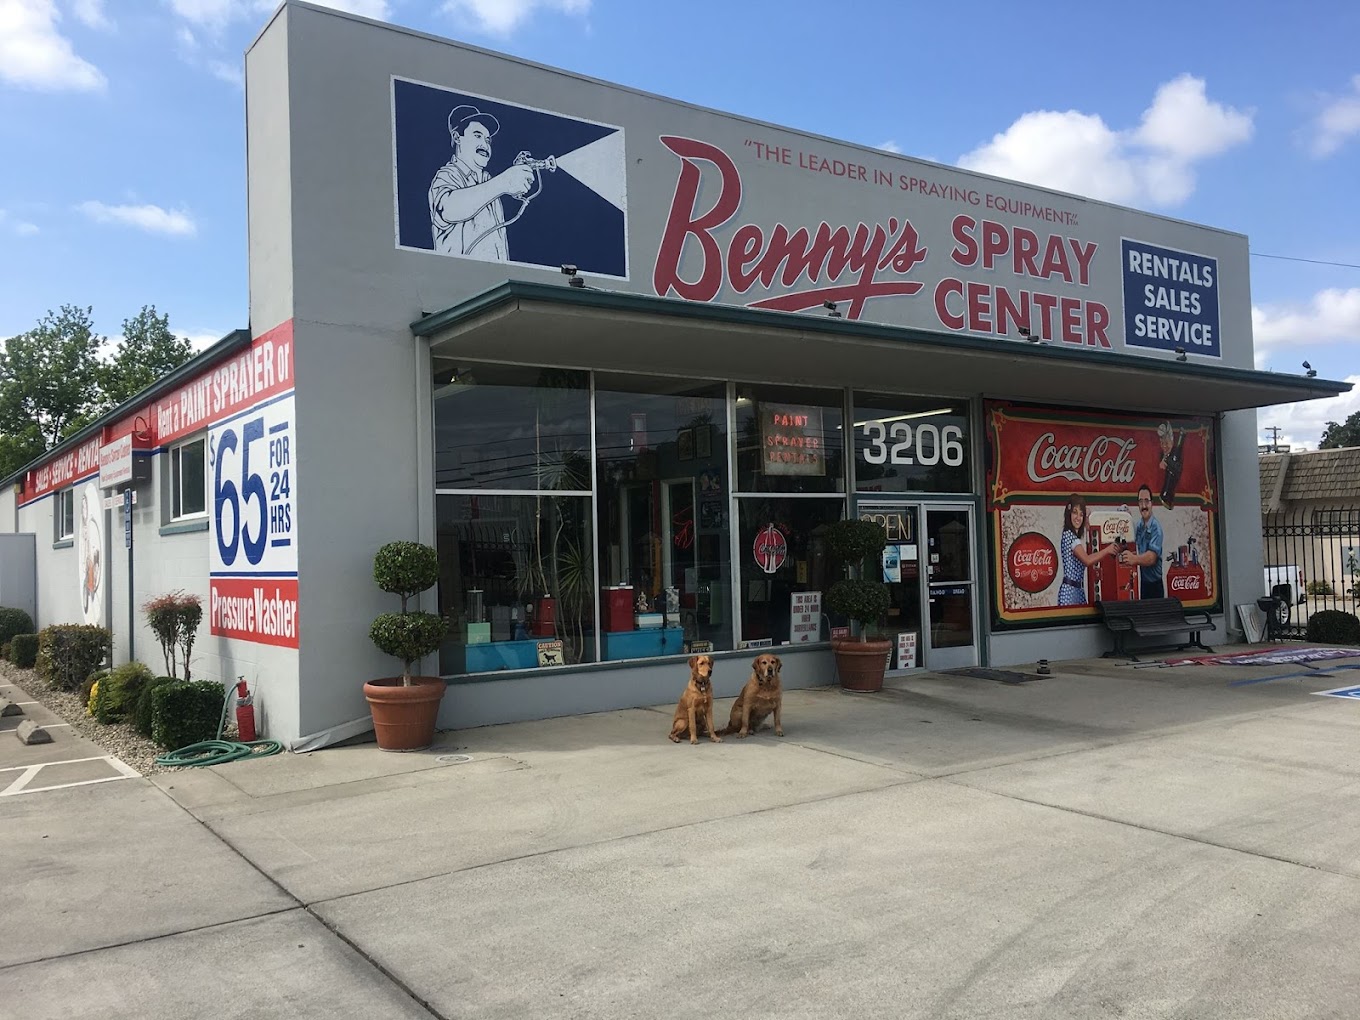
At Benny’s Spray Center, we believe that maintaining your airless paint sprayer is crucial for ensuring long-lasting performance and quality results. Whether you’re a DIY user or a professional, proper care will help maximize the efficiency and lifespan of your equipment. Here’s Benny’s complete guide to keeping your sprayer in top condition.
Inspect and Prepare Before Each Use
Before every paint job, take a few moments to inspect your sprayer. Start by checking the intake filter to ensure it’s clean. A clogged intake filter can lead to uneven paint flow and poor results. Remove the filter, rinse it under clean water, or use a mild solvent like acetone to remove stubborn paint residue. Once cleaned, make sure the filter is fully dry before reinstallation.
Next, examine the spray nozzle for blockages. If any buildup is present, soak the nozzle in a solvent and use a toothpick to gently dislodge any clogs. A properly maintained nozzle ensures a smooth spray pattern and even coverage. Finally, lubricate the piston and inspect the seals to prevent excess friction and wear during use.
Thinning and Straining Your Paint
One of the most common issues with airless sprayers is improper paint thinning. For optimal performance, it’s important to thin the paint according to the manufacturer’s guidelines, using water, mineral spirits, or another suitable solvent. After thinning, always strain the paint to remove lumps or debris that can clog the sprayer. Straining the paint helps maintain consistent flow and reduces potential damage to the internal components
Setting the Right Pressure
Airless sprayers operate at high pressures—often up to 3,000 PSI. While high pressure may seem appealing for faster work, it can reduce the lifespan of your equipment. Begin with a lower setting, around 1,500 PSI, and increase as necessary. Excessive pressure not only increases wear but also can cause splattering and uneven results. Adjust the flow rate carefully to minimize overspray and prevent the sprayer from being overworked.
Cleaning the Sprayer Properly
Thorough cleaning after each use is vital for your airless sprayer’s health. Never let paint dry in the system—dried paint can lead to internal damage and clogs. During extended paint jobs, periodically flush the sprayer with solvent to remove buildup. Once your project is complete, do a full flush by filling the paint container with solvent and running it through until it flows clear. Be sure to also clean the exterior components using solvent and brushes, but avoid submerging the entire unit.
Replacing Parts as Needed
Certain parts of your sprayer are subject to wear and need periodic replacement. Components like the nozzle, piston, packing, and prime valves will eventually wear out. Regularly inspect these parts and replace them as needed to avoid sudden breakdowns or loss of performance.
Best Usage Practices
To extend your sprayer’s lifespan, use proper techniques during operation. Always start and stop the paint flow with the trigger valve to avoid pressure spikes that can damage the pump. Move at a steady pace, keeping within the capabilities of the sprayer. Strain paint before use to prevent clogs, and never operate the sprayer without paint, as running it dry will damage internal components.
Taking a proactive approach to maintaining your airless paint sprayer will save you time, money, and frustration in the long run. From inspecting the intake filter to using the correct pressure settings, each step ensures your sprayer delivers the best possible performance. If you need replacement parts or expert repair services, Benny’s Spray Center is here to help you keep your equipment in peak condition.