How to Spray Like a Pro: Tips for a Smooth, Even Finish
When it comes to home improvement projects, using a paint sprayer can save time and give you a professional-quality finish—if you know how to use it properly. Whether you’re painting walls, furniture, fences, or cabinets, following the right spraying techniques is key to getting a smooth, even coat without drips or streaks. Here’s how to spray like a proand take your DIY projects to the next level.
1. Choose the Right Paint Sprayer
Before you start, make sure you have the right sprayer for the job.
- Airless Paint Sprayers – Best for large surfaces like walls, ceilings, and fences. These provide high-speed coverage but require precise technique to avoid overspray.
- HVLP (High Volume, Low Pressure) Sprayers – Ideal for smaller, detailed work like cabinets, trim, and furniture. These provide more control and a finer finish.
If you’re unsure which type to use, check out our Graco, Titan, and Wagner sprayer options at Benny’s Spray Center!
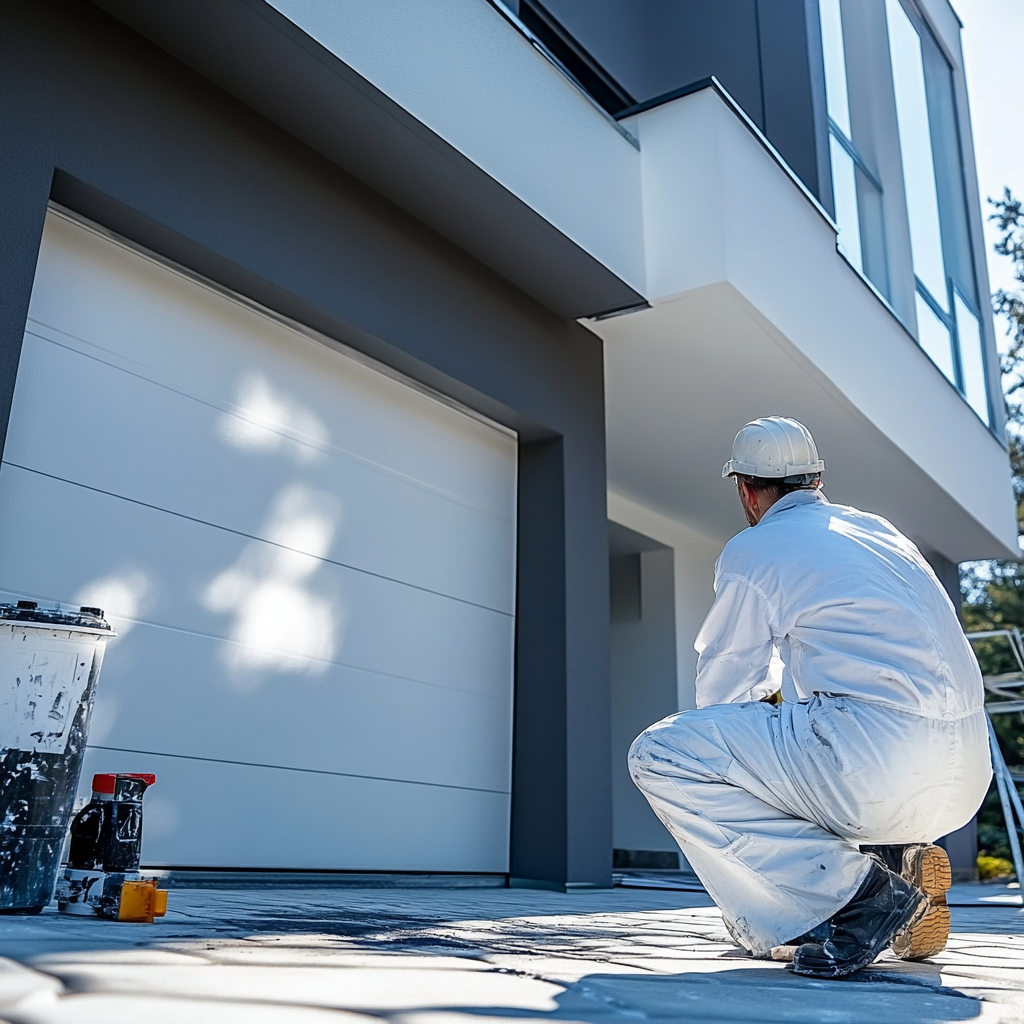
2. Properly Prepare Your Surface
A good finish starts with good prep work. Before spraying, make sure to:
✅ Clean the surface – Remove dirt, grease, and dust to prevent imperfections.
✅ Sand rough areas – Smooth out any bumps or old paint drips.
✅ Mask off areas – Use painter’s tape and drop cloths to protect floors, windows, and furniture from overspray.
3. Thin the Paint (If Necessary)
Not all paints work well in a sprayer without thinning. Some thicker latex paints may need to be diluted with water or a paint conditioner to prevent clogging. Check your sprayer’s manual for thinning recommendations.
4. Test Your Sprayer Before Starting
Before spraying your walls or furniture, always test on a scrap surface or cardboard to:
- Adjust pressure settings to avoid excessive spray.
- Find the right spray pattern (wide for large areas, narrow for details).
- Ensure even flow without spitting or dripping.
5. Maintain the Right Distance & Angle
A consistent spraying technique makes all the difference:
📏 Stay 10-12 inches away from the surface.
🎯 Hold the sprayer perpendicular to the surface—avoid tilting.
🔄 Move in smooth, overlapping strokes (50% overlap on each pass).
6. Keep a Steady Hand
✅ Move at a consistent speed—too slow causes drips, too fast leads to uneven coverage.
✅ Keep the sprayer in motion before pulling the trigger and release it before stopping to avoid paint buildup.
7. Apply Multiple Thin Coats
Instead of trying to cover everything in one heavy coat, apply two to three light coats for a smooth, streak-free finish. Let each layer dry according to the paint manufacturer’s recommendations.
8. Clean Your Sprayer Immediately After Use
To keep your sprayer working like new:
- Flush it with clean water or solvent (depending on paint type).
- Remove and clean the spray tip and filters.
- Store it properly to prevent clogging or damage.
Final Thoughts
Using a paint sprayer for home improvement projects can save time, reduce effort, and give a professional look—but only if you follow the right techniques. By choosing the right sprayer, prepping your surface, and mastering proper spraying methods, you’ll get a flawless, even finish every time.
Need sprayer parts, accessories, or rentals? Benny’s Spray Center has everything you need to spray like a pro! Contact us today!